Resolve VGA Problems:

To fix VGA Issues on your Windows 10, here are the solutions for you.
You’ve started your computer, but you see the “VGA No Signal” display message on your screen.
This is one of the issues you’d mostly encounter when using your computer.
This means that you will be unable to see stuff on your screen.
Don’t panic, I’ve got you.
Here are the most basic and effective fixes to tackle this issue.
Step 1: Check your Hardware Devices

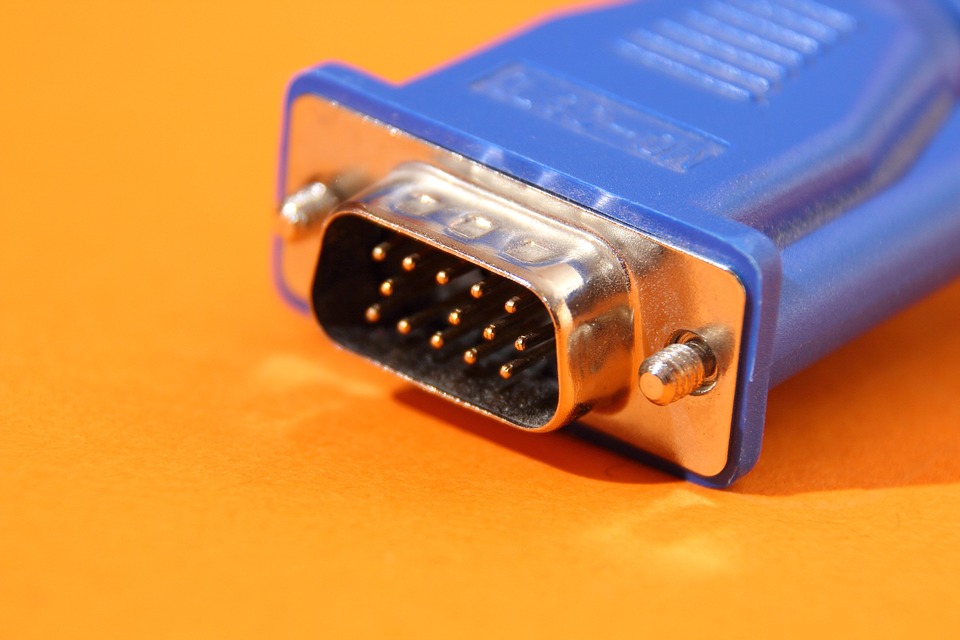
To fix VGA Issues on your Windows 10. Firstly, please check your VGA cable. See to it that the cable is correctly connected.
Secondly, if it is there’s still no signal. Check if the cable itself is not damaged, you can replace your cable with another one if you think that it’s not functioning.
Lastly, check your monitor device. If you are sure that your cable is not damaged and is properly connected, but still seeing the error. You might need to check if your monitor is not damaged.
Step 2: Restart your Computer

At times, your computer device just needs time to breathe in a way of restarting.
This is one of the most basic fixes that you could apply to any issues you’d encounter.
Please see the steps below:
1. Turn off your computer
2. Disconnect your VGA cable from your monitor and PC
3. Reconnect it again, then turn your computer on
If the issue persists, please proceed to step 3.
Step 3: Update your Graphics Card
This issue might also present on your computer due to outdated or missing device drivers.
Making sure that your device drivers are updated could resolve issues such as this one.
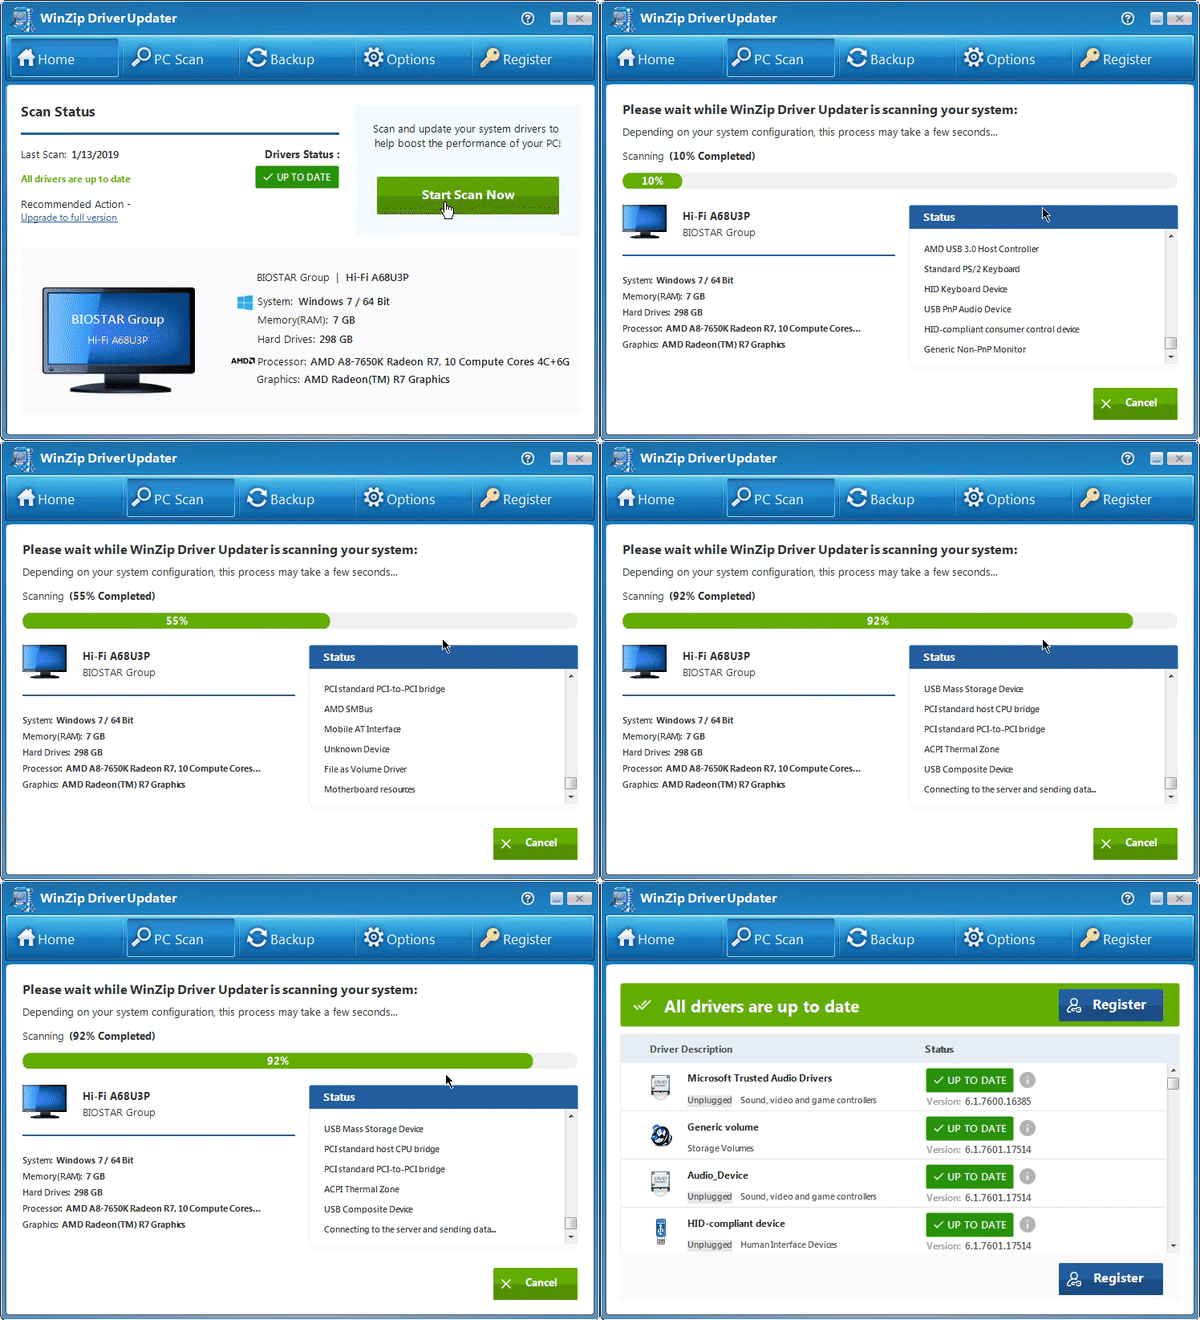
I would suggest using running a free scan on your computer with WinZip Driver Updater.

WinZip Driver Updater will scan your computer for outdated and missing drivers. It then delivers the correct and genuine drivers from the original manufacturers.
Download WinZip Driver Updare for FREE
