Are you facing a situation where you have just introduced some updates on your Windows operating system, and now there is no audio on the computer? Well, more often than not, this is a driver issue. The driver is either missing or needs an update after the recent changes. Wondering how to fix Realtek audio driver problems on Windows? Here are some easy methods to resolve the issue in no time.
Fixing Realtek audio driver problems on Windows is a 2-step process. It works around identifying the problem and then fixing the issue. Here are the two steps in detail.
Step 1 – Identify the problem with Realtek audio driver
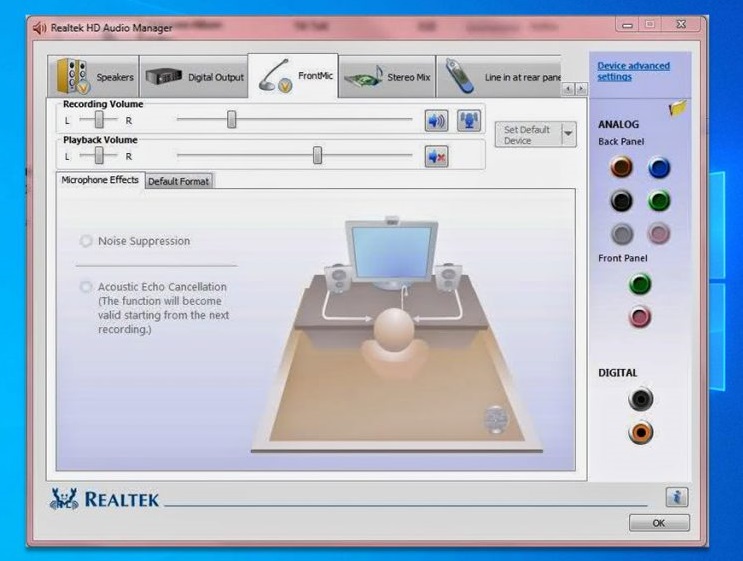
Whenever there is a sound or audio issue on Windows systems, there are high chances it is because of the Realtek audio driver problems. This means the driver is outdated, needs an update, or it is corrupted by some means. This is a common issue when you update your operating system. The driver requires an update as well.
However, before you can go ahead and update the driver, you would have to confirm that this is, in fact, the issue causing the problem. And how do you do that?
- Navigate to the Run box on your Windows system by clicking on the Win + R at the same time.
- In the search box that pops up, type in ‘devmgmt.msc’ and hit Enter.

- The Device Manager page opens up on the screen. Click on the ‘Sound, video, and game controllers’ option to expand the selection.
- This will display the Realtek High Definition Audio option in the list.

- If the option has a yellow exclamation or question mark icon next to it, then it needs an update, and this was the root cause of the audio issue.
Once you confirm that it is the Realtek audio driver that is creating the problem, you can then proceed to fix the issue.
Step 2 – Updating the Realtek audio driver
Updating the Realtek audio driver is not a very complicated process. In fact, you can do it in one of the two methods mentioned below, depending on your requirements.
Method 1 – Update the driver using Device Manager
The first method involves using the familiar Device Manager to update the driver. For this, follow the next few steps to uninstall the Realtek audio driver first and then reinstall it again.
- Right click on ‘Realtek High Definition Audio’ having the yellow exclamation mark icon next to it.
- Click on ‘Update Driver Software’.

- This will automatically update the Realtek audio driver in a few minutes.
If the update doesn’t work, then you need to follow the below steps.
Uninstall the driver:
- You will see the same screen of ‘Realtek High Definition Audio’ option. Right-click on this selection, and from the drop-down menu, click on ‘Uninstall’.

- This brings up a prompt on the screen named ‘Uninstall.’ This states, ‘Warning: You are about to uninstall this device from your system.’ It is accompanied by a checkbox saying. ‘ Delete the driver software for this device.’
- You can click on this checkbox and then click on Uninstall, to remove the driver from your Windows system.
- At this point in time, the Realtek driver has been removed from your system. However, it is best to restart your system in order to be completely sure of the uninstall process.
- Now that you have uninstalled the existing driver from the system, the next step requires you to download the new driver and install that.
Install the driver:
- Go to the Realtek official website from your browser.
- Navigate to the Download Center option in the Menu on the left to look for your requirement.
- Insert the relevant filters on this page to look for the audio driver that you are looking for. Insert the keyword as ‘audio.’ At this point in time, you would have to be careful about the make and model of your system. Check the 32 bit or the 64-bit version for your computer.
- Click on download to get the Realtek audio driver file on your system.
- Once the file is downloaded, you will find it in the Downloads folder. Double click on the driver file. Follow the instructions given on the screen in order to get the driver installed.
Following these instructions, you will have successfully uninstalled and then installed the Realtek audio driver. This should effectively get rid of the Realtek audio driver problems on Windows.
Method 2 – Automatically update the driver using WinZip Driver Updater
If you don’t want to go through this process of un-installation and then re-installation, you can opt for a safer and easier method. This will update the Realtek driver automatically, and you are good to go. The WinZip driver updater is an important tool in this regard. How does it help?
It can automatically analyze and identify pain points within the computer drivers. In other words, it can identify the drivers that are corrupt or need an update, and work to fix them accordingly.
The new updated drivers are sourced from the original manufacturers directly. In this case, it will automatically download and update the Realtek audio driver for you.
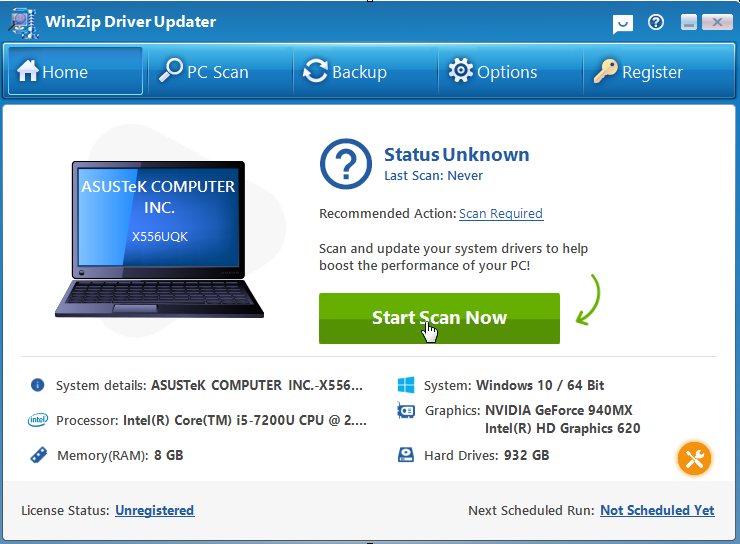
How do you use the WinZip driver updater?
- First step is to download the WinZip Driver Updater.
- Follow the step-by-step instructions to install it on your computer.
- On the main screen of WinZip Driver Updater, click on ‘Start Scan Now’. It will start scanning your computer for outdated drivers.
- Once the scan is complete, it will show all the outdated drivers on your computer. Click the ‘Update All’ button to update all the drivers.


- WinZip Driver Updater starts downloading the latest driver updates and also keeps a backup of your original old drivers. Click on ‘Install’ and it will install all the updates automatically in a few minutes.

- You will see a quick summary of all the drivers updated on your computer.

Conclusion
Driver problems are quite complicated and difficult to resolve. This is especially true when the issue is with an audio driver. While manually uninstalling and then reinstalling the Realtek audio driver might be a long process, you can opt for the easier automatic driver update using WinZip Driver Updater. This continuously takes care of all your system drivers.